Superpowers for Solo Customer Success Managers
Unlock Customer 360°, automate workflows, and build
a scalable foundation for growth

Unlock Customer 360°, automate workflows, and build
a scalable foundation for growth
Health
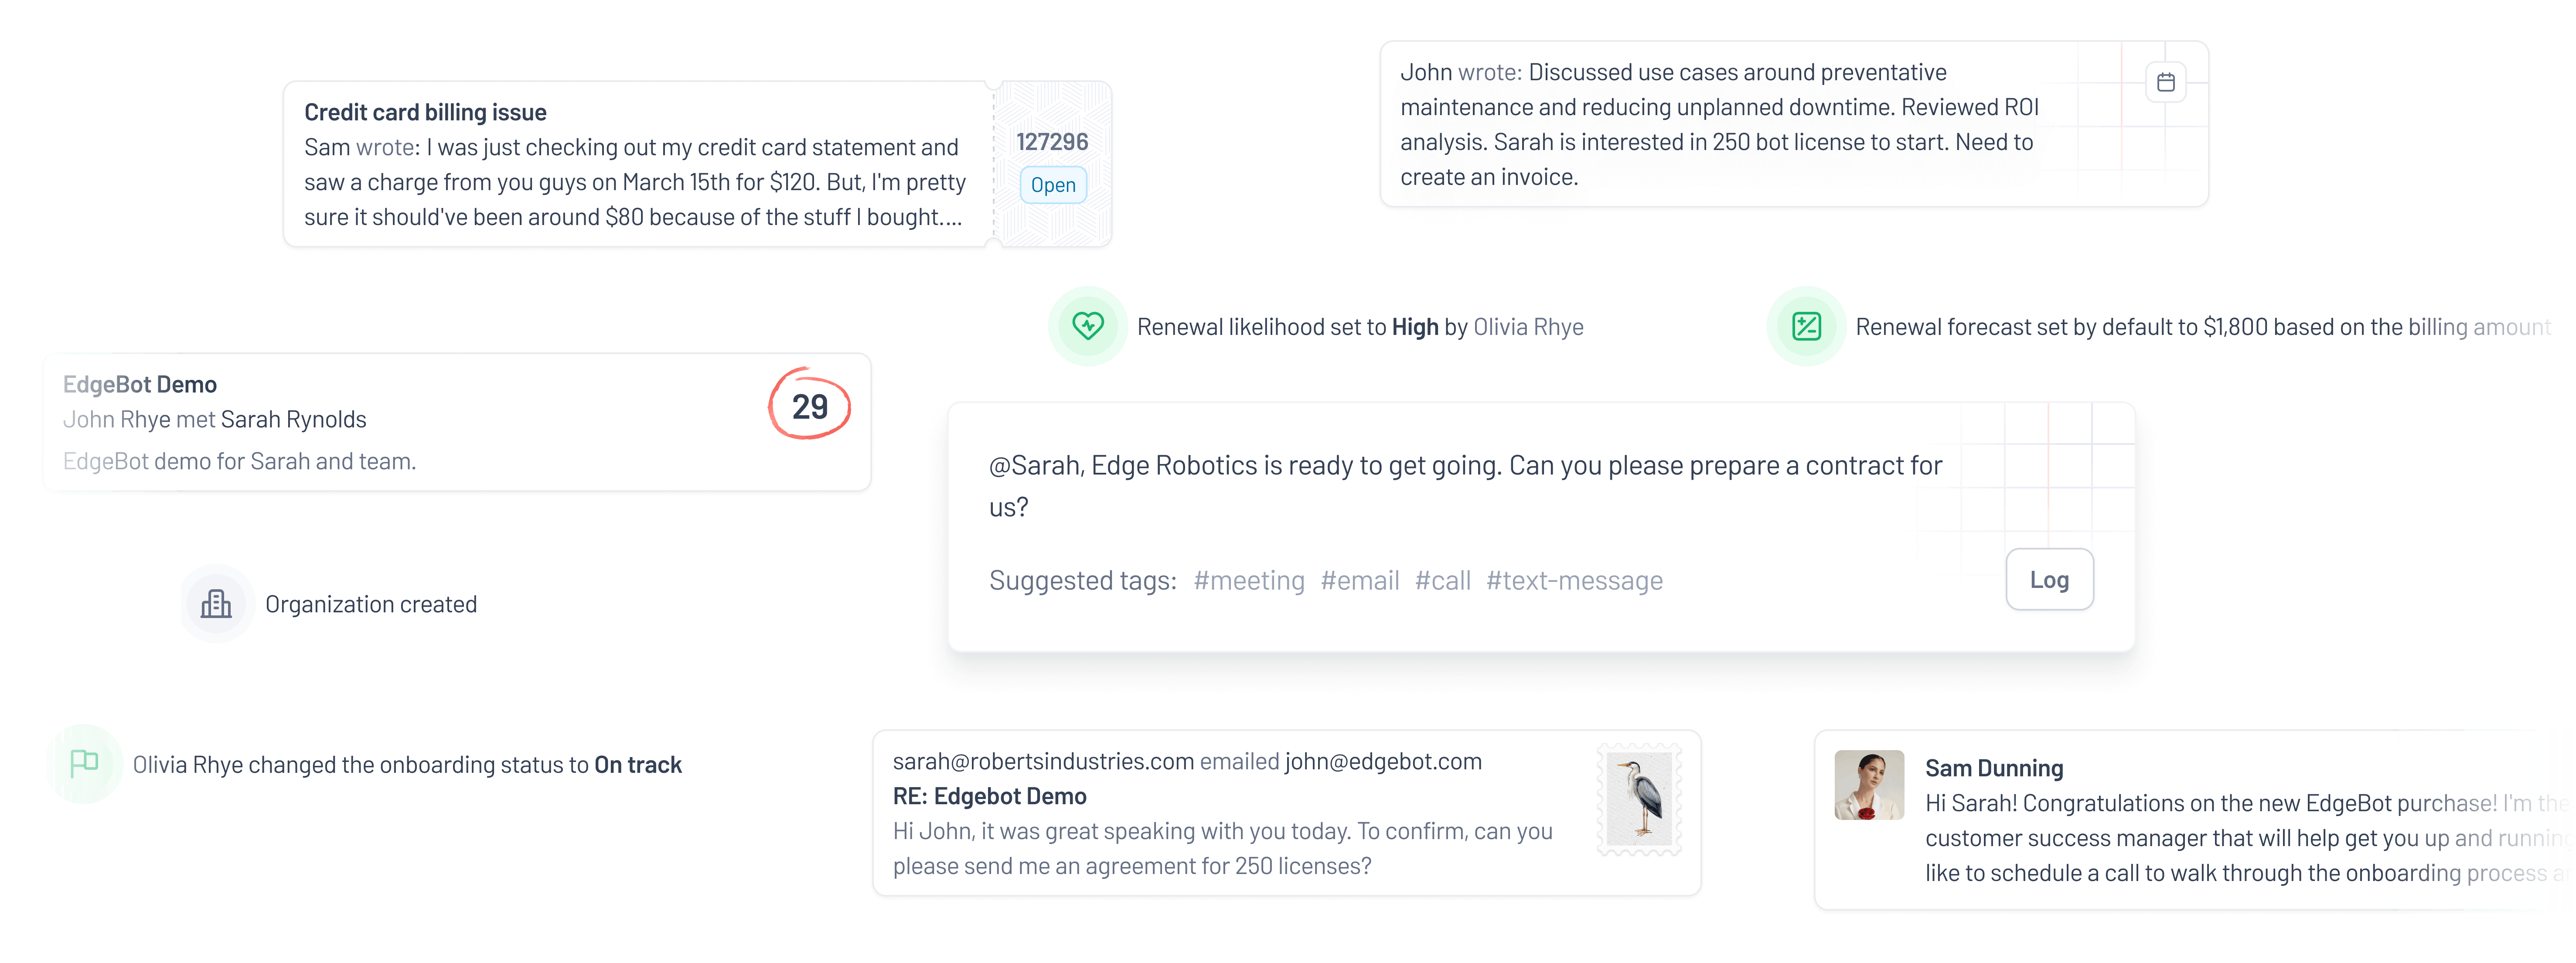
Connect customer health to revenue to help you pinpoint risk, uncover hidden opportunities, and prevent churn.

Onboarding
Onboard customers faster, reducing inital time-to-value, driving customer adoption, and smoothing the path to expansion revenue.

Revenue
End-to-end visibility ties everything back to revenue growth and profitability. Opportunity management, invoicing, receivables—it’s all focused on the bottom line.

We bring your go-to-market teams together around a unified, actionable view of customer data.

Arm customer success managers with real-time visibility into deal progress, contract milestones, and renewals forecasting to promote maximum retention, expansion, and customer lifetime value.

With end-to-end visibility connecting contract to cash, COOs & CROs can accelerate revenue cycles, identify bottlenecks impeding growth, and access unified insights to inform critical business decisions for maximum profitability.

Connect fragmented systems and data across opportunity, billing, payments, and accounting for revenue teams to model pricing scenarios, accelerate cash flow, and gain a performance command center.


"We’re huge fans of CustomerOS here at Govly. Matt and the team have been incredible as we worked together on building a durable Customer Success engine." - Oliver Taylor, COO @ Govly

Instantly unify siloed customer data from all your business systems and touchpoints into a single source of truth for more informed decisions, personalized engagements, and unlock customer loyalty at scale.

CustomerOS has achieved SOC 2 Type I compliance, and ISO 27001 certification, underscoring our commitment to data security and information management. These milestones reflect our focus on providing a secure environment for our users.